I had been planning to post a dotting tutorial in the future, but one of my lovely readers requested it a few days ago, so here it is now! I love dotting because you can do so many things with this technique. For this tutorial I did a gradient of multicolor, multi-sized dots. I hope this helps in your dotting endeavors.
To start out with I used two coats of OPI Birthday Babe on my thumb and pinky, two coats of Essie Blanc on my index and middle fingers, and two coats Essie Raspberry on my ring finger.
Next, I gathered up my supplies.
Most importantly you'll need dotting tools, which can be purchased from Amazon at a very reasonable price here. You will also need a cotton pad soaked with polish remover or acetone for cleaning your dotting tools, a non-absorbent surface (plastic plate, scrap glass, etc.) to drop polish on, and the polishes you will be using for dotting. I used Zoya Kelly, OPI Birthday Babe, Essie Licorice, and Essie Raspberry.
Now we're ready to start dotting! Take one of your polishes and deposit a drop of polish onto your non-absorbent surface.
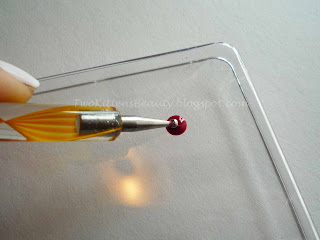
Select a dotting tool and dip it into the drop of polish.
When you first get your tools take some time to play with dotting on a piece of paper. By experimenting on paper you can perfect your technique... It's true what they say - practice makes perfect!
Here is a shot of my nail after the first few dots.
...and after a few more.
Here's the final product!
Dot, dot, dot, Darlings!


No comments:
Post a Comment